In today's interconnected world, remote access capabilities are more important than ever, and Raspberry Pi SSH tunnel offers a secure and reliable method to connect to your devices from anywhere globally. Whether you're a tech-savvy hobbyist, a professional developer, or simply someone looking to enhance the security of your home network, understanding how Raspberry Pi SSH tunnel operates can unlock a plethora of opportunities. This comprehensive guide will walk you through the essential steps of setting up and utilizing SSH tunnels with Raspberry Pi, ensuring you have the tools and knowledge to keep your data secure and your devices accessible.
Raspberry Pi SSH tunnel is a robust technology that facilitates the creation of encrypted connections between devices. This technology empowers users to access files securely, manage servers, and even browse the web privately. With the growing demand for remote work environments and secure communication channels, incorporating Raspberry Pi SSH tunnel into your toolkit can significantly enhance both personal and professional workflows.
This article delves deep into the complexities of Raspberry Pi SSH tunnel, guiding you through foundational setup processes to advanced configurations. By the conclusion of this guide, you will possess the expertise to implement SSH tunnels effectively, ensuring your data remains safeguarded and your devices are accessible from anywhere in the world.
Read also:Sprunki Parodybox Wiki Fandom
Table of Contents
- Understanding SSH Tunnel
- Exploring Raspberry Pi
- Benefits of Using SSH Tunnel with Raspberry Pi
- Setting Up Raspberry Pi for SSH Tunnel
- Configuring SSH Tunnel on Raspberry Pi
- Advanced Features of SSH Tunnel
- Troubleshooting Common Issues
- Security Best Practices
- Exploring Alternatives to SSH Tunnel
- Conclusion
Understanding SSH Tunnel
SSH (Secure Shell) tunneling is a sophisticated technique that enables the secure transmission of data between two networked devices. By establishing an encrypted channel within an SSH connection, this method allows users to bypass firewalls, encrypt sensitive information, and access remote servers or devices securely. SSH tunnels are widely utilized across various applications, such as secure web browsing, remote file transfers, and confidential communication.
One of the standout features of SSH tunneling is its ability to encapsulate other protocols—such as HTTP, FTP, or DNS—within the encrypted SSH connection. This ensures that all data transmitted through the tunnel remains private and protected from unauthorized access, making it an indispensable tool for maintaining data integrity and confidentiality.
Key Features of SSH Tunnel:
- End-to-end encryption for secure data transmission
- Support for multiple protocols, enhancing its versatility
- Simple setup and configuration processes
- Compatibility with a wide array of operating systems, ensuring broad usability
Exploring Raspberry Pi
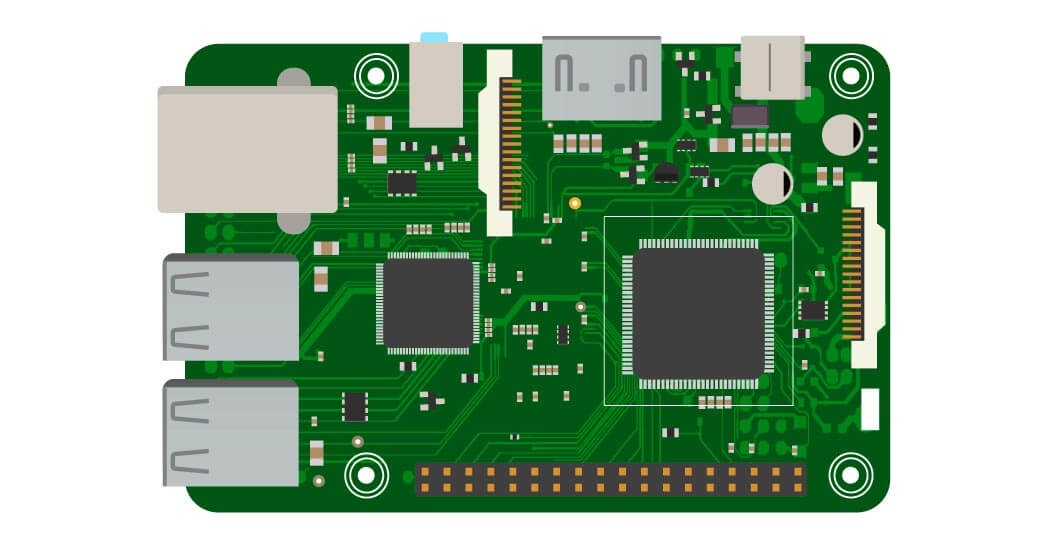
Raspberry Pi, a diminutive single-board computer roughly the size of a credit card, was originally designed for educational purposes but has since become a favorite among hobbyists and professionals alike. Its affordability, versatility, and open-source architecture make it an exceptional platform for experimenting with cutting-edge technologies, including SSH tunneling.
Raspberry Pi operates on Linux-based systems, such as Raspbian, providing a robust environment for setting up SSH tunnels. Its energy efficiency and compact design render it ideal for deployment as a dedicated SSH server or client, making it a go-to choice for secure remote access solutions.
Key Specifications of Raspberry Pi
- Processor: Broadcom BCM2837
- RAM: 1GB or more, depending on the model
- Connectivity: Wi-Fi, Bluetooth, Ethernet
- Storage: MicroSD card
Benefits of Using SSH Tunnel with Raspberry Pi
Employing Raspberry Pi SSH tunnel offers numerous advantages that position it as a compelling solution for secure remote access:
Read also:Fleur Cates Wikipedia
- Enhanced Security: SSH tunnels encrypt all data exchanged between devices, ensuring that sensitive information remains shielded from unauthorized interception.
- Versatility: Raspberry Pi SSH tunnel supports a wide array of applications, from remote desktop access and secure file transfers to private browsing, catering to diverse user needs.
- Cost-Effectiveness: Raspberry Pi is an affordable and energy-efficient device, making it an excellent investment for setting up a dedicated SSH server or client.
- Portability: Its compact form factor allows users to carry Raspberry Pi with them, enabling remote access capabilities from virtually anywhere in the world.
By merging the power of SSH tunneling with the adaptability of Raspberry Pi, users can create a secure and dependable solution for remote access and communication, tailored to their specific requirements.
Setting Up Raspberry Pi for SSH Tunnel
To begin using Raspberry Pi SSH tunnel, you must first configure your Raspberry Pi device. Follow these comprehensive steps to ensure a seamless setup:
Step 1: Install the Operating System
Download the latest version of Raspbian or any other Linux-based operating system compatible with Raspberry Pi. Use a tool like Etcher to flash the downloaded image onto a microSD card, ensuring your device is ready for deployment.
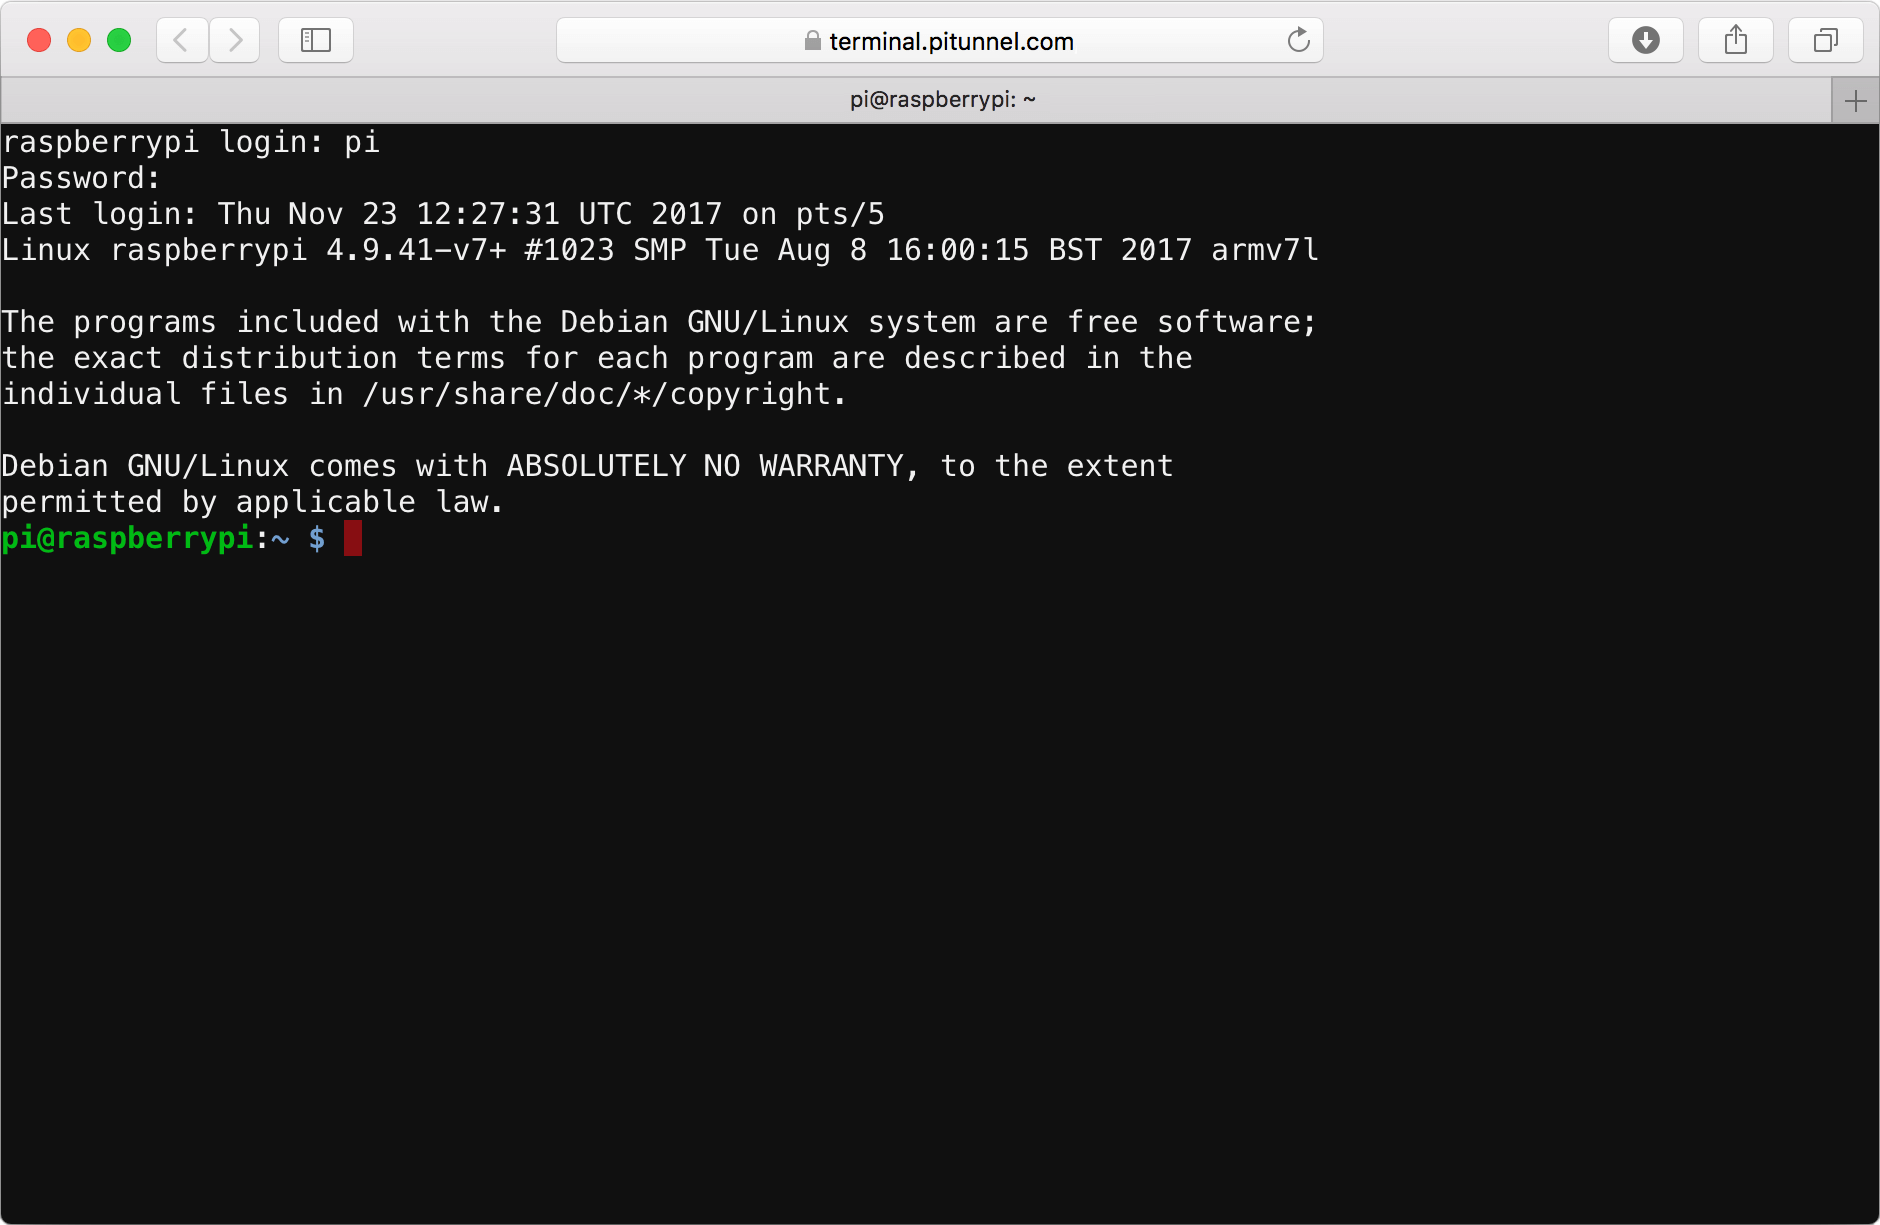
Step 2: Enable SSH
Activate SSH on your Raspberry Pi by creating an empty file named "ssh" (without any extension) in the boot partition of the microSD card. This simple action will automatically enable the SSH service upon device startup.
Step 3: Connect to the Network
Establish a connection between your Raspberry Pi and your local network using either Wi-Fi or Ethernet. You can configure the necessary network settings during the initial setup or modify the "wpa_supplicant.conf" file located on the boot partition to streamline the process.
With your Raspberry Pi successfully set up and connected to your network, you can now proceed to configure the SSH tunnel, unlocking its full potential.
Configuring SSH Tunnel on Raspberry Pi
Configuring an SSH tunnel on Raspberry Pi involves setting up both the client and server components. Follow these detailed steps to establish a secure connection:
Step 1: Install SSH Server
Raspbian includes the SSH server pre-installed, but you can confirm its presence by executing the following command:
sudo apt-get update && sudo apt-get install openssh-server
Step 2: Generate SSH Keys
Create SSH keys to bolster the security of your connection. Utilize the following command to generate a pair of keys:
ssh-keygen -t rsa -b 4096
Step 3: Configure SSH Tunnel
Set up the SSH tunnel by specifying the local and remote ports. For instance, to forward traffic from your local machine's port 8080 to the Raspberry Pi's port 80, use the following command:
ssh -L 8080:localhost:80 pi@raspberrypi
This command establishes a secure connection between your local machine and the Raspberry Pi, enabling access to the web server running on the Raspberry Pi through port 8080.
Advanced Features of SSH Tunnel
Raspberry Pi SSH tunnel boasts several advanced features that amplify its functionality and security:
Dynamic Port Forwarding
Dynamic port forwarding allows you to utilize SSH tunnel as a SOCKS proxy, facilitating secure browsing and access to multiple services via a single connection. Enable dynamic port forwarding with the following command:
ssh -D 1080 pi@raspberrypi
SSH Tunnel Persistence
Maintain your SSH tunnel's activity even after network interruptions by employing tools like autossh or configuring the SSH client to reconnect automatically. For example:
ssh -o ServerAliveInterval=60 -o ServerAliveCountMax=3 pi@raspberrypi
Reverse SSH Tunnel
A reverse SSH tunnel enables you to access a device situated behind a firewall or NAT from the outside, which is invaluable for remote troubleshooting or monitoring. Set up a reverse SSH tunnel using the following command:
ssh -R 2222:localhost:22 pi@remote-server
Troubleshooting Common Issues
While configuring Raspberry Pi SSH tunnel, you may encounter a few common issues. Below are some troubleshooting tips to assist you:
- SSH Connection Refused: Confirm that the SSH service is operational on the Raspberry Pi and that the firewall permits incoming SSH connections.
- Authentication Failed: Ensure the accuracy of the username and password or SSH key used for authentication.
- Connection Timeout: Review your network settings and verify that the Raspberry Pi is accessible from the client machine.
If problems persist, consult the official Raspberry Pi documentation or seek assistance from online forums and communities for further guidance.
Security Best Practices
When utilizing Raspberry Pi SSH tunnel, adhering to security best practices is crucial to safeguard your data and devices:
- Utilize Strong Passwords: Refrain from using weak or default passwords for SSH authentication to mitigate risks.
- Enable Key-Based Authentication: Disable password-based authentication and leverage SSH keys for heightened security.
- Restrict Access: Limit SSH access to specific IP addresses or networks using firewall rules to enhance protection.
- Regularly Update Software: Keep your Raspberry Pi and SSH server software updated to address potential vulnerabilities.
By implementing these best practices, you can significantly reduce the likelihood of unauthorized access and ensure the security of your SSH tunnel.
Exploring Alternatives to SSH Tunnel
While Raspberry Pi SSH tunnel is a robust solution, alternative options may better suit your specific needs:
- VPN: A virtual private network (VPN) provides a secure and encrypted connection between devices akin to SSH tunneling. However, it may necessitate more intricate setup and configuration.
- WireGuard: WireGuard is a contemporary and lightweight VPN solution offering high performance and ease of use, making it an attractive alternative to SSH tunneling for certain applications.
- Stunnel: Stunnel is another tool for creating encrypted tunnels, supporting multiple protocols and delivering advanced features for secure communication.
Each alternative has its unique strengths and limitations, so it's essential to evaluate your requirements thoroughly before selecting the most appropriate solution for your needs.
Conclusion
Raspberry Pi SSH tunnel delivers a secure and efficient method for accessing your devices remotely, proving to be an invaluable asset for tech enthusiasts, developers, and professionals alike. By following the steps outlined in this guide, you can effortlessly set up and configure SSH tunnels on your Raspberry Pi.
We encourage you to experiment with the advanced features and explore the vast possibilities offered by Raspberry Pi SSH tunnel. Should you have any questions or feedback, feel free to leave a comment below or share this article with others who may find it beneficial. Stay secure, and continue exploring the ever-evolving world of technology!